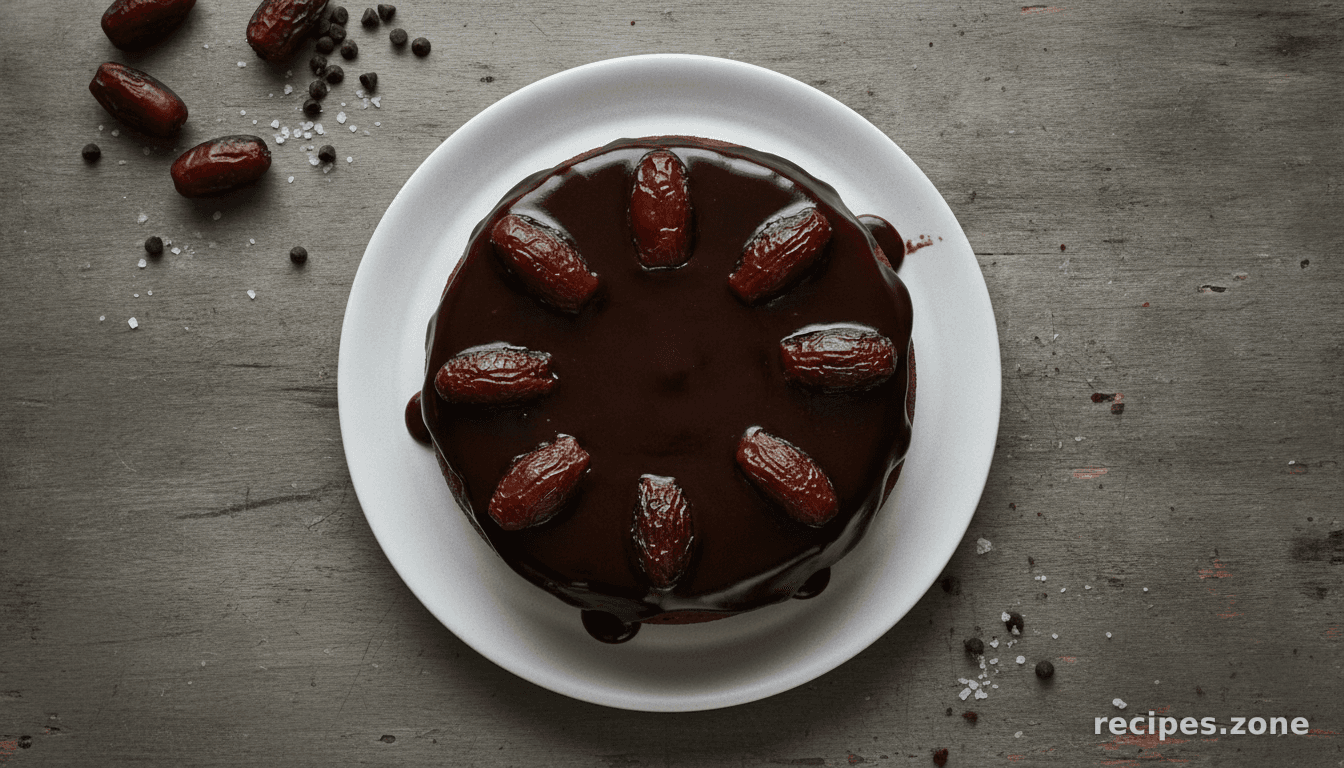
Chocolate-Date Cake with Chocolate Sticky Toffee Glaze

Switch the palette to suit the room. Your choice is saved locally.


Preheat your oven to 180 °C (350 °F). Butter a 21 cm (8.3 or 9 inch) round cake pan, then line the bottom with parchment paper and butter the parchment as well.
Bring 1 cup of water to a boil in a small saucepan. While that heats, combine the dates, brandy, coffee, and 2 tablespoons of cocoa powder in a heatproof bowl. Pour the boiling water over the date mixture and stir to combine.
Let the date mixture cool, stirring occasionally. Once cool, transfer it to a food processor and puree until smooth. You should have about 2 1/2 cups of puree.
Transfer the pureed date mixture to a large bowl and set aside.
In a separate bowl, whisk together the flour, salt, cinnamon, and the remaining 2 tablespoons of cocoa powder. In another large bowl, beat the butter and dark-brown sugar with a mixer on medium speed until the mixture is light and fluffy.
Add the eggs to the butter mixture, one at a time, beating well after each addition. Don't worry if the batter looks a bit curdled at this stage.
Stir the 1 teaspoon of baking soda into your reserved date puree. With the mixer on low speed, gradually beat the flour mixture into the egg mixture in 2 additions, alternating with the date puree, until just combined.
Finally, beat in the bittersweet chocolate and the chopped dates until evenly distributed.
Pour the batter into your prepared cake pan and smooth the top with a spatula.
Bake for about 1 hour, or until a toothpick inserted into the center of the cake comes out clean.
Let the cake cool in the pan on a wire rack for 30 minutes. After cooling, run a knife around the edge of the pan to loosen the cake, then invert it onto the rack.
Carefully remove the parchment paper, then turn the cake right side up and let it cool completely on the wire rack. If you're not glazing it right away, the cake can be wrapped tightly in plastic and stored at room temperature for up to 2 days.
Per serving
Sign in to leave a rating and a note.
Be the first to cook this and tell the rest of us how it went.


Allergen information is derived automatically from the ingredient list and is a guide, not a guarantee. Always check the packaging of the products you cook with.